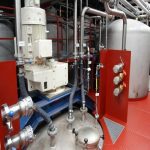
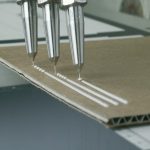
| With the change of hotmelt, for example for a test or a definitive change to new adhesive, there are some things you have to keep in mind to prevent issues on the long term.Although hotmelts often looks the same (colour and shape), the specifications and the used of raw materials can be very different.The appearance at room temperature doesn’t say much about the chemical composition and although that it often goes well in practice, a mixture from two similar looking hotmelts can cause a chemical intolerance reaction which can result in huge problems.Even the chemical tolerant hotmelts can, when mixed, because of the mutual differences in for example viscosity, cause problems or at least be the cause of a failed test or an unrepresentative review of the adhesion performance.Often people use rinsing and cleaning products to clean the machines before a change in adhesives. Although these products are very usable in specific cases, most of the time the use of these product is not recommended Change of glue – what to check in advance? Before you go ahead with the change of adhesive it is recommended to have the tolerance of the adhesive tested. The adhesive supplier can, with a small amount of glue, do a relatively simple lab test which will tell you more about the chemical tolerance of the adhesive.If the result of the test shows intolerance the next steps should be executed with extra care. Step one First of all the adhesive should be removed from the system as much as possible. De adhesive tank can be drained by using the drain point. Take the necessary precautions because of the release of hot adhesives. It is recommended to check the main filter for excessive pollution. If the filter is heavily polluted it needs to be changed. 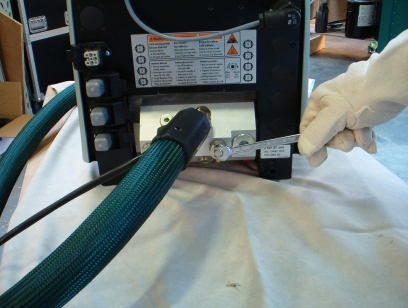 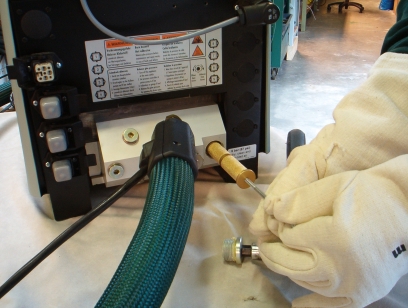 Step two When the tank is empty, the whole system needs to be set on a low temperature. A temperature around 20 – 30 degrees beyond the melting point of the new hotmelt can be maintained. This is called the “Ring & Ball Temperature”. After this the tank is ready to be filled with the new hotmelt. Step three In order to prevent the existing pollution in the system (burnt particles etc.) to reach the small channels of the nozzles and cause blockages, it is recommended to disconnect the tubes. When the new is hotmelt has melted in the tank, the rinsing of the tubes can be started. Because the new adhesive has a higher viscosity at low temperature, the present old adhesive is pushed out of the tubes. A higher pump pressure is required. Step four When the rinsed hotmelt that is released at the end of the disconnected tubes looks clean and consistent, the system must be depressurized and the nozzles can be assembled. Step five If there are ‘in-line’ filters placed before the nozzles it is recommended to renew those. After assembly of the nozzles they should be rinsed as last with the new hotmelt. 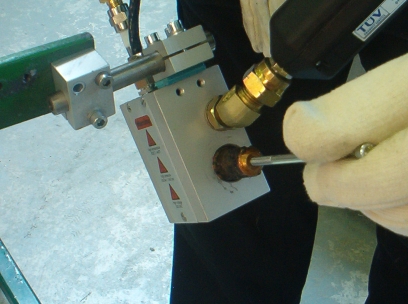 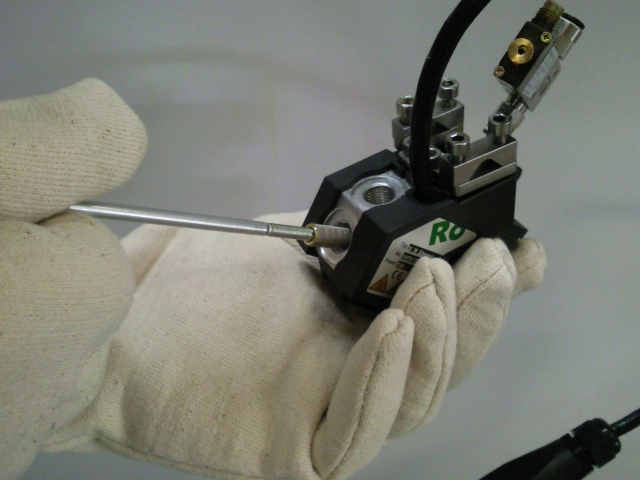 All steps are carefully executed but there are still blockages. Old existing pollution and sediments in the tubes can’t often be fully removed. By using new, clean and bright hotmelts it is possible that the old pollution peels off and cause blockages. In this case it is necessary to change the tubes.What also frequently occurs is because of the moving of the tubes during the exchange process, that the old pollution comes free and cause blockages in the days after the exchange. In this case it is recommended to rinse again with a low temperature. If this doesn’t work it is necessary to change the tubes.If you don’t want to do these proceeding yourself or you don’t have skilled personnel who can do it, please feel free to contact us or your own hotmelt equipment supplier for an appointment. |
